
Getting Started
Welcome to FlipBook Studio– Digital Publishing System For CodeIgniter 4
FlipBook Studio is a complete CodeIgniter 4 module for creating beautiful, interactive digital flipbooks from PDF documents, images, and ZIP archives. It features a powerful admin panel, mobile-responsive viewer, and easy embedding options.
The FlipBook Studio follows CodeIgniter 4 best practices and offers a clean, modular architecture that is easy to extend and customize.
Technologies Used
Technologies Used
- Version: codeigniter4 : “^4.0”
- Language: PHP ^8.2
Frontend
- Bootstrap: ^5.3.2
- jQuery 3.7.1 – DOM manipulation and AJAX requests
- Utilities: Toastr (Notifications), jQuery Validation (Form validation)
Key Benefits
- Easy Integration – Drop-in module for any CodeIgniter 4 project
- Multiple Sources – Support for PDF, Images, and ZIP archives
- Mobile Ready – Fully responsive with touch gesture support
- Customizable – Extensive configuration options
- Secure – Built-in security features and validation
- Fast – Lazy loading and optimized performance
Features Overview
- Core Conversion Features
- PDF to high‑quality image conversion powered by Ghostscript
- Bulk image upload support ( JPG, PNG, WebP)
- ZIP archive import for batch flipbook creation
- Automatic page sorting and optimization
- Image watermark support
- PDF to high‑quality image conversion powered by Ghostscript
- Flipbook Viewing Experience:
- Realistic 3D page flip animation
- Smooth page-turning effects
- Zoom in and zoom out functionality
- Fullscreen reading mode
- Direct page jump navigation
- Admin Panel Features
- User‑friendly flipbook management dashboard
- Create, edit, and delete flipbooks
- Search and filter the flipbook library
- Preview flipbooks before publishing
- Embedding and Integration
- Iframe embed support
- Helper function integration
- Security Features
- Strict file type validation
- MIME type checking
- Upload size restrictions
- Automatic temporary file cleanup
- CSRF protection compatibility
- Developer Friendly Architecture
- Clean modular structure
- CI4 standard coding practices
- Easy customization support
- Extendable architecture
- Well-documented setup process
Installation
System Requirements
- Server Requirements
- PHP 8.2 or higher
- Codeigniter4 : “^4.0”
- MySQL 5.7 or higher
- Recommended PHP Limits (Update these settings in `php.ini`)
- max_execution_time: 300
- Memory_limit: 512M
- post_max_size: 100M
- upload_max_filesize: 50M
- **Note:** Restart your web server after making changes.
- Required PHP Extensions
- gd – Image processing
- zip – ZIP file handling
- fileinfo – File type detection
- mbstring – Multi-byte string support
- intl – Internationalization
- json – JSON encoding/decoding
- curl – HTTP requests
Manual Installation
The FlipBook Studio manual installation is easy with the following steps:
Ghostscript is required for converting PDF pages to images.
Unzip the package. Copy Flipbook folders inside the upload folder.
- Step 1: Extract Files
- Go to your project root directory.
- Navigate to: app/
- Create a new folder named-Modules
- Paste the Flipbook folder inside:
app/Modules/
- Project Structure
- your-project/
├── app/
├── Config/ # App configuration
└── Modules/
└── Flipbook/ # Main flipbook module
├── Assets/ # Module assets
├── Commands/ # Spark commands
├── Config/ # Module config & routes
├── Controllers/ # Admin & Viewer controllers
├── Database/ # Migrations
├── Helpers/ # Helper functions
├── Libraries/ # Core services
├── Models/ # Database models
└── Views/ # Admin & viewer templates
- your-project/
- Step 2: Configure Autoloading:
- Edit `app/Config/Autoload.php`:
- public $psr4 = [
APP_NAMESPACE => APPPATH,
‘Flipbook’ => APPPATH . ‘Modules/Flipbook’,
]; - public $helpers = [‘flipbook’];
- public $psr4 = [
- Edit `app/Config/Autoload.php`:
- Step 3: Configure Routes
- Edit `app/Config/Routes.php`:
- if (is_file(APPPATH . ‘Modules/Flipbook/Config/Routes.php’)) {
require APPPATH . ‘Modules/Flipbook/Config/Routes.php’;
}
- if (is_file(APPPATH . ‘Modules/Flipbook/Config/Routes.php’)) {
- Edit `app/Config/Routes.php`:
- Step 4: Configure Auth Filters:
- Edit `app/Config/Filters.php`:
- public array $aliases = [
‘admin_auth’ => \Flipbook\Filters\AdminAuthFilter::class,
]
- public array $aliases = [
- Edit `app/Config/Filters.php`:
- Step 5: Run Migrations
- php spark migrate –all
- Step 6: Publish Assets
- php spark flipbook:publish
Login
Admin Login
After successful installation, you can access the Admin Panel using the links provided below:
Create Your First Flipbook
- Step 1: Access Admin Panel
- http://localhost/xyz/admin/login (where xyz – your project folder name)
http://xyz.com (where xyz.com – your domain name)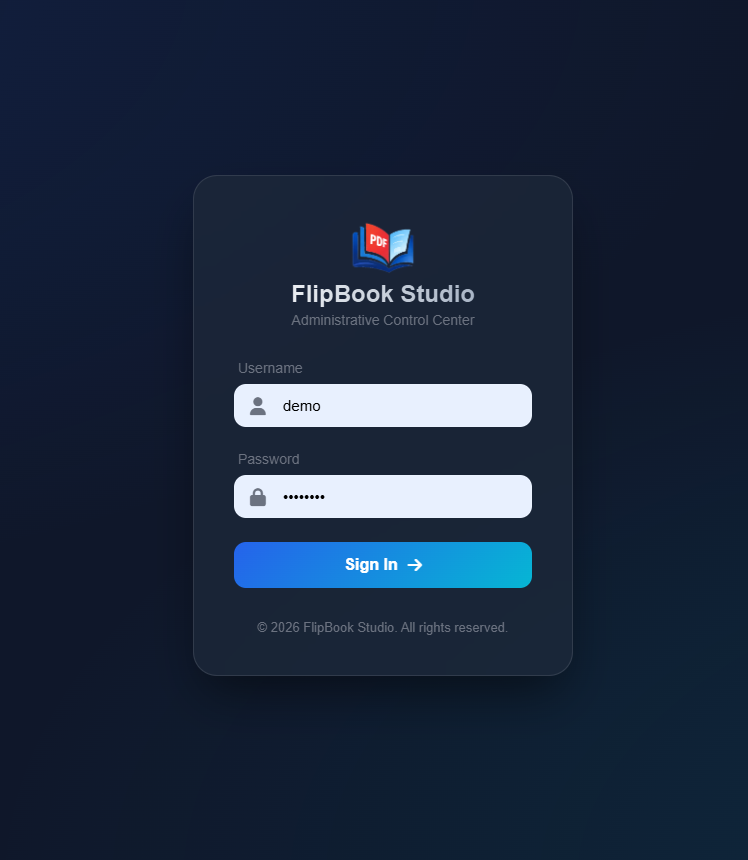
- http://localhost/xyz/admin/login (where xyz – your project folder name)
-
- Username: demo
- Password: password
You’ll see the Flipbook Library dashboard.
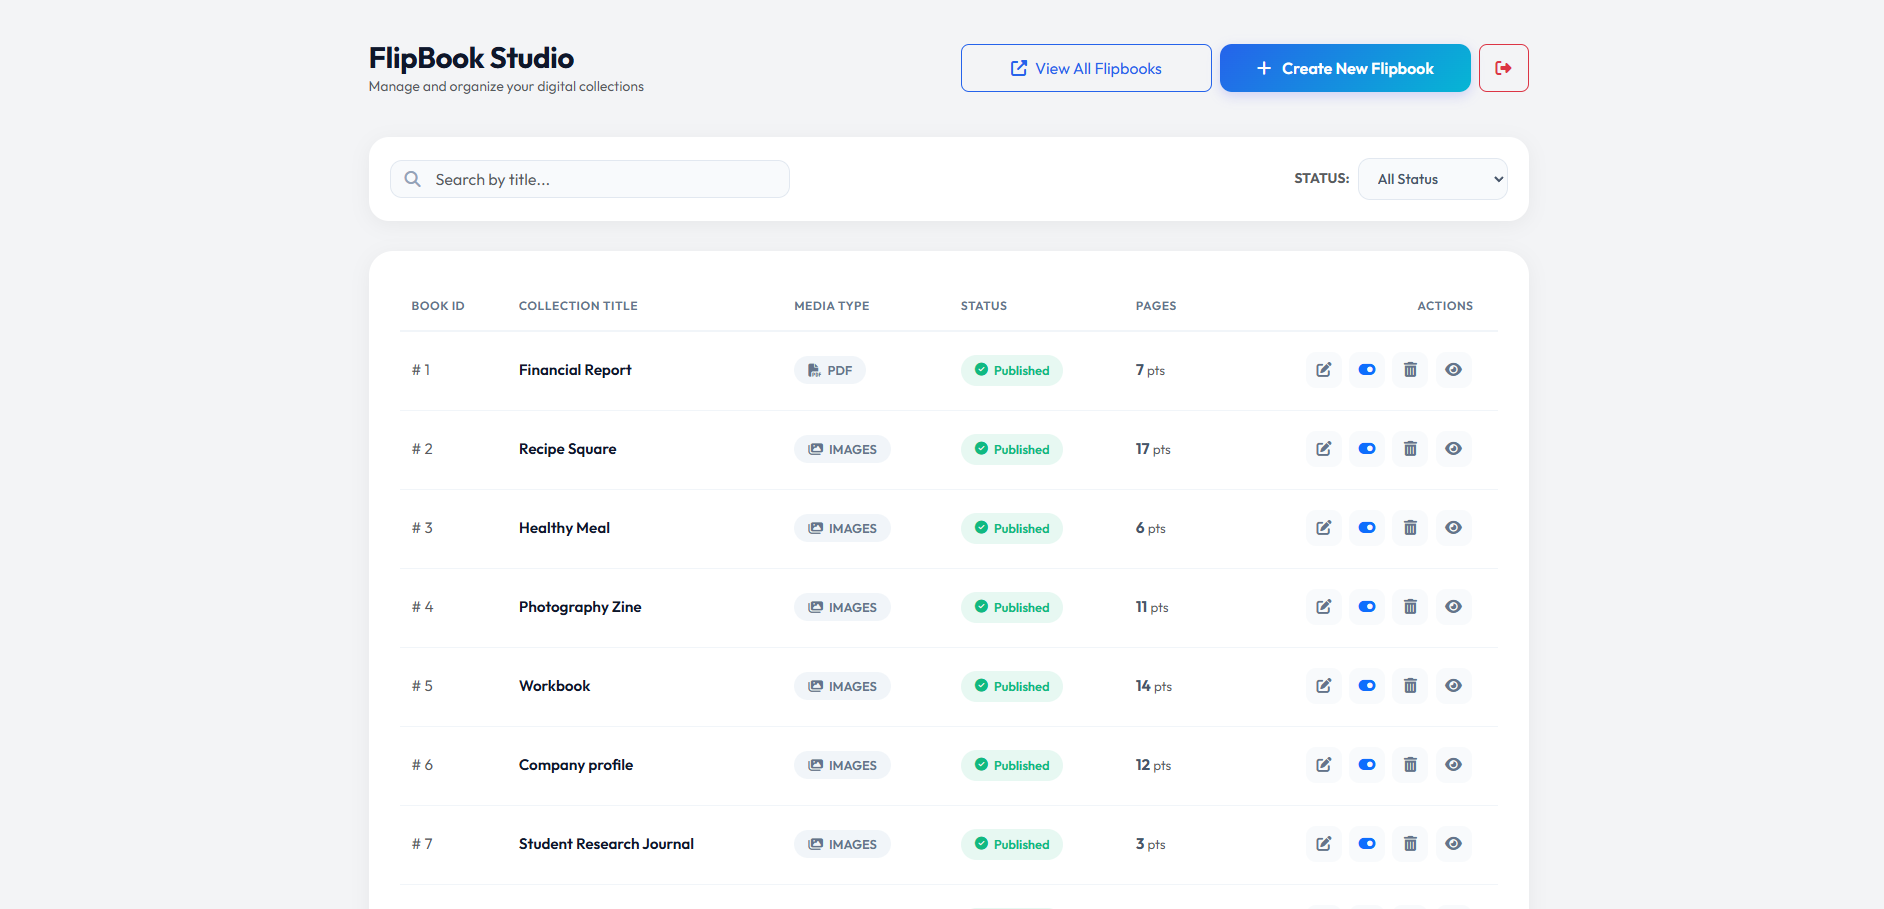
- Step 2: Click “Create New”
- Click the purple **”Create New Flipbook”** button in the top right corner.
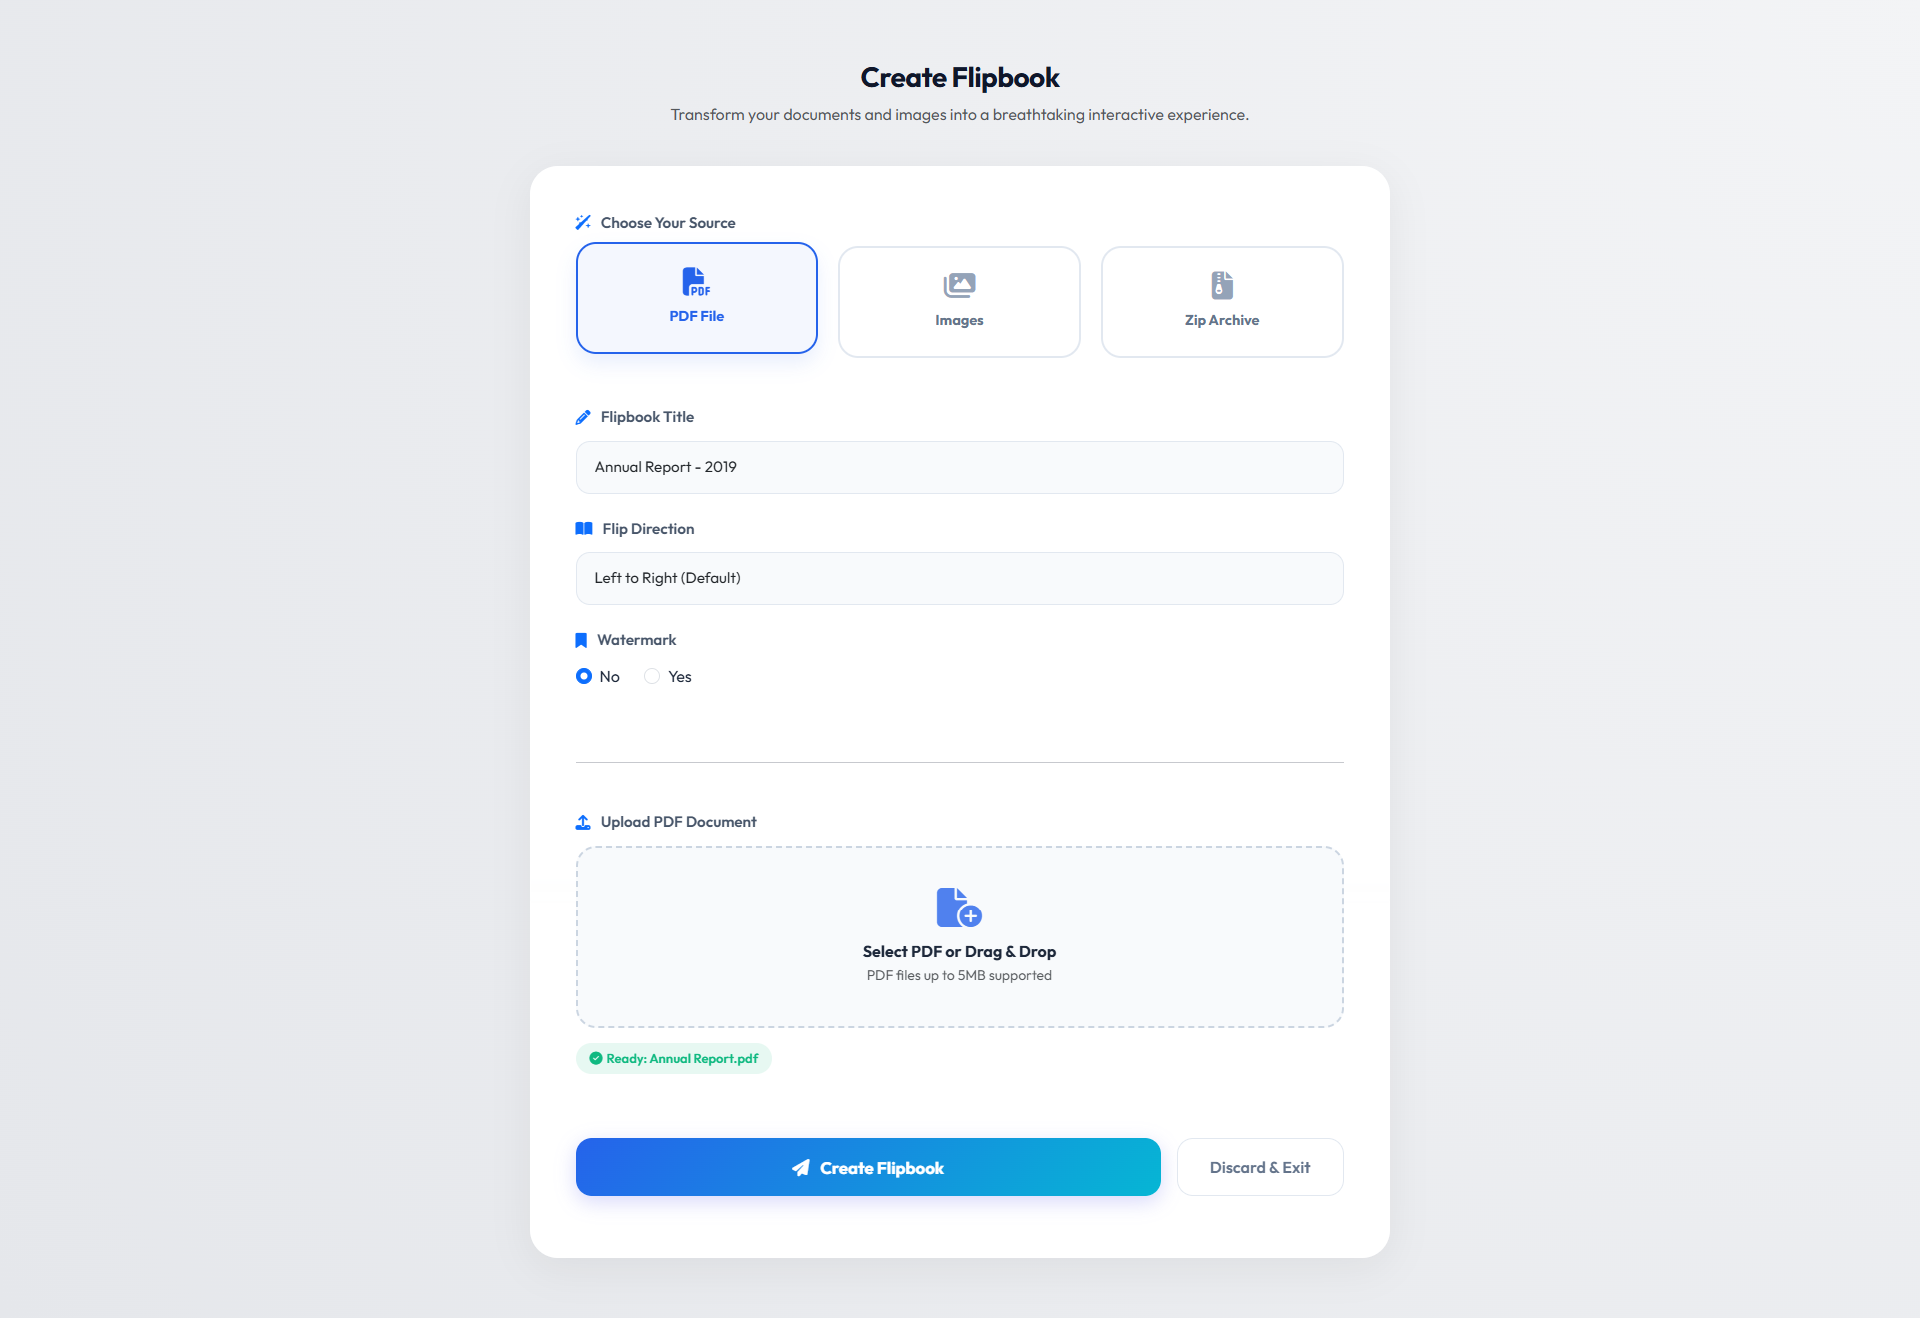
- Step 3: Choose Source Type
- PDF File – Upload a PDF document
- Images – Upload multiple images
- ZIP Archive – Upload a ZIP with images | Bulk image uploads
- Step 4: Fill in Details
- **Title**: Enter a descriptive name for your flipbook
- **Flip Direction**: Choose LTR (Left-to-Right) or RTL (Right-to-Left)
- **Watermark** (optional): Enable to protect your content
- Step 5: Upload Your File
- For PDF:
- Drag & drop your PDF file or click to browse
- Maximum file size: Configured in settings (default: 50MB)
- Wait for the upload to complete
- For Images:
- Select multiple images (JPG, PNG, or WebP)
- Images will be displayed as pages in order
- Drag to reorder if needed
- For ZIP:
- Create a ZIP containing your images
- Only image files will be extracted
- For PDF:
- Step 6: Configure Watermark (Optional)
- If watermark is enabled
- **Upload Watermark Image**: Select your watermark logo/image
- **Position**: Choose where it appears (9 positions available)
- **Opacity**: Adjust transparency (0 = invisible, 1 = solid)
- The preview shows how the watermark will appear on pages.
- If watermark is enabled
- Step 7: Create Flipbook
- Click **”Create Flipbook”** and wait for processing:
- **PDF**: Pages are extracted and converted to images
- **Images/ZIP**: Images are processed and optimized
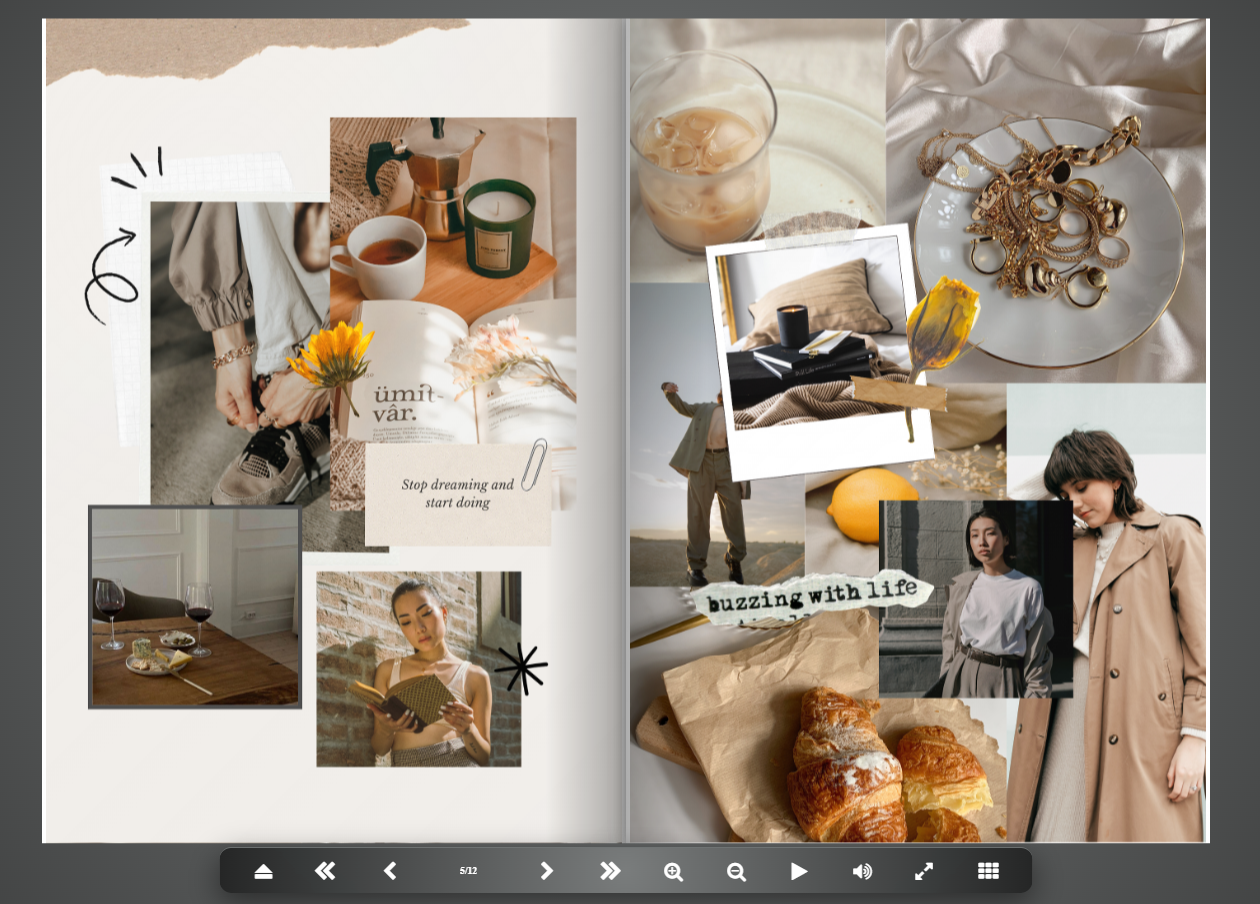
View Your Flipbook
Once created, you can view your flipbook in multiple ways:
(where xyz – your project folder name)
Direct Link:
http://xyz/flipbook/show/{id}
Gallery View
http://xyz/flipbook/gallery
(where xyz – your project folder name)
From Admin Panel
Click the **eye icon** on any flipbook to get sharing options.
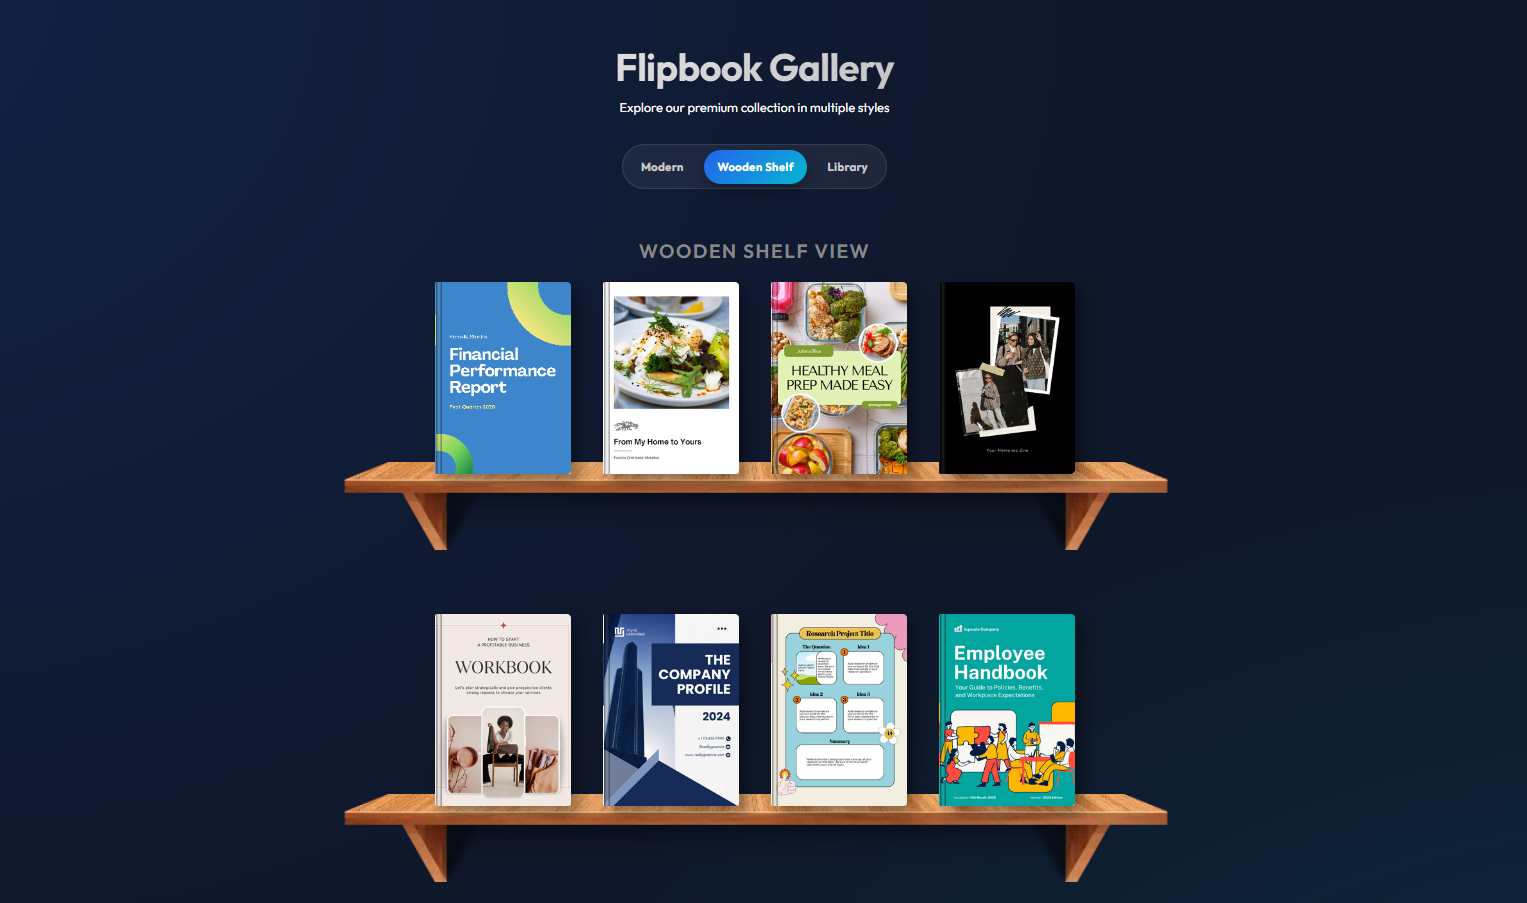
1. Wooden Shelf View (Classic Bookshelf Style)
The Wooden Shelf View presents the flipbooks in a warm, realistic bookshelf environment. Books are displayed standing on wooden shelves, similar to how physical books appear in a home or library. This layout gives the interface a cozy and familiar feeling, making it intuitive for users who enjoy traditional reading environments.
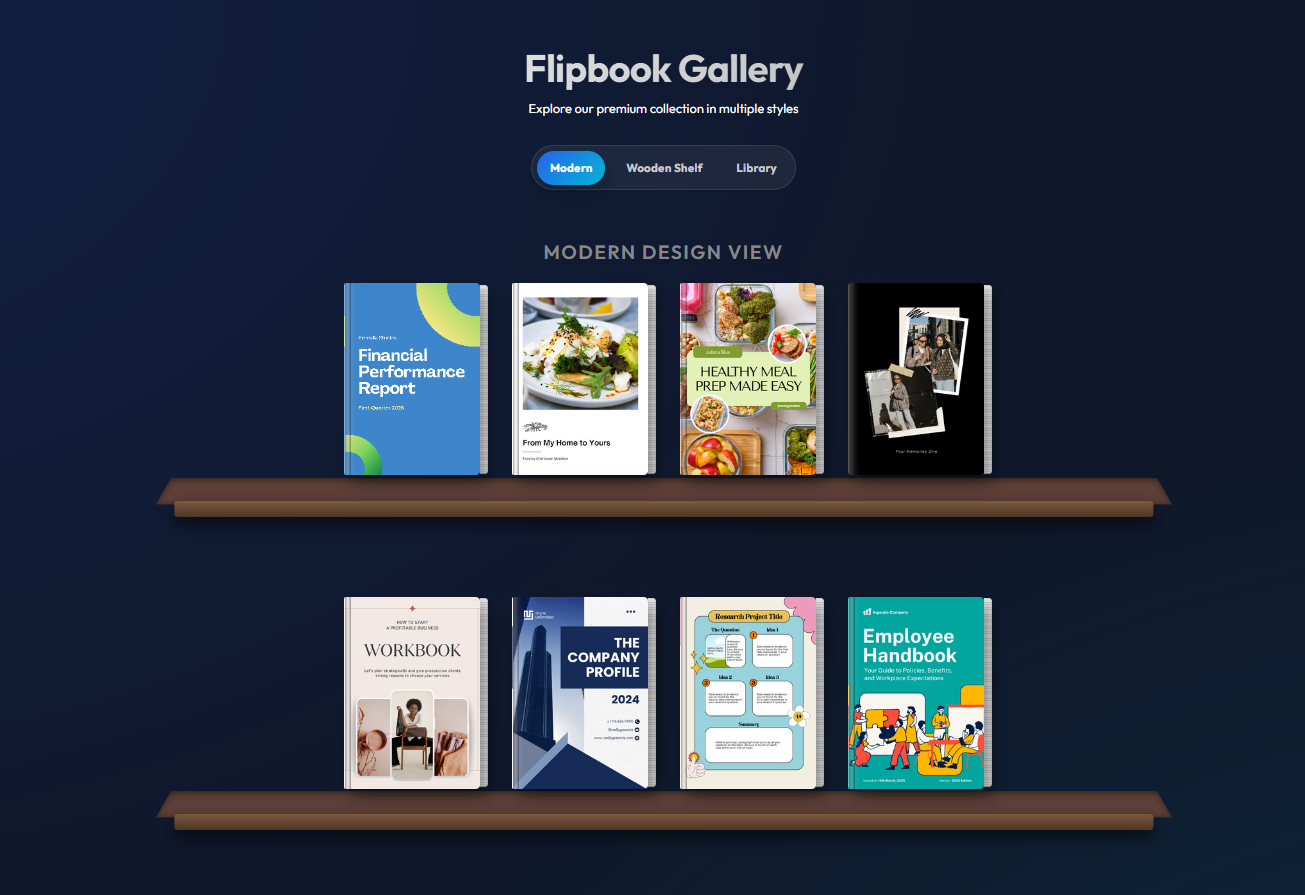
2. Modern Design View (Minimal Shelf Layout)
The Modern Design View focuses on simplicity and clean presentation. Instead of a detailed wooden shelf environment, the design uses minimal shelves and structured spacing to highlight the flipbooks themselves.
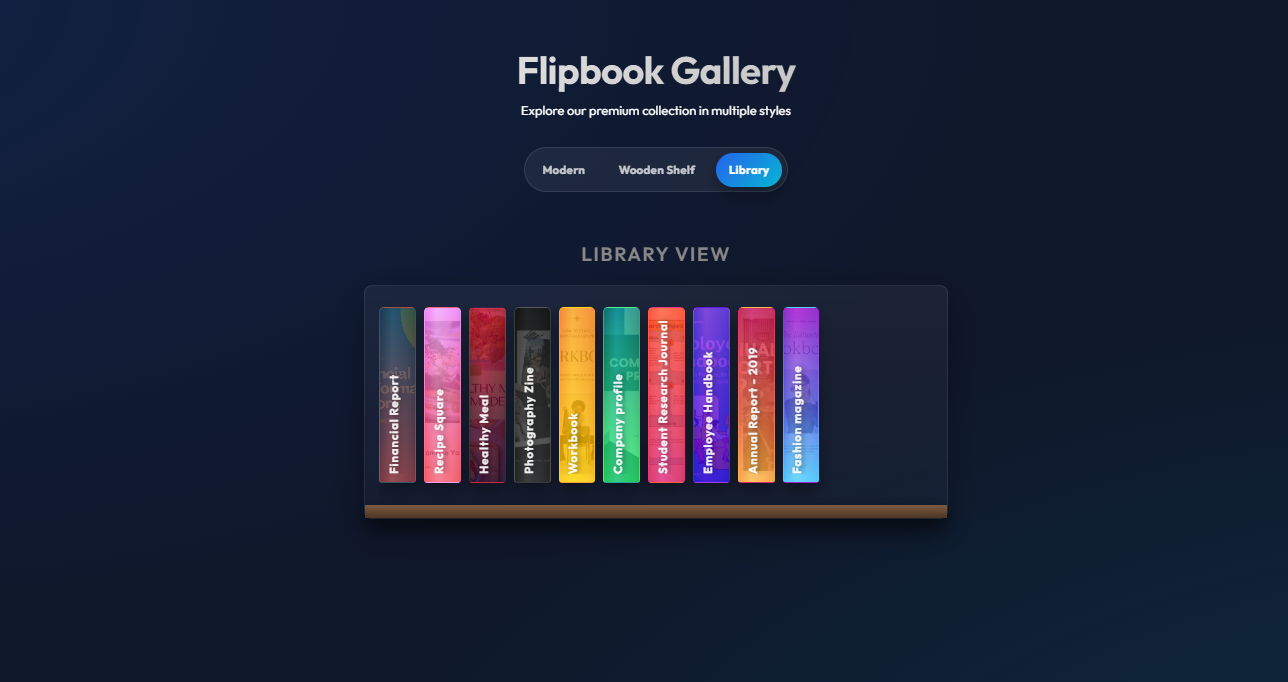
3. Library View (Spine-Based Collection)
The Library View presents books from the spine perspective, similar to how books appear in a real library stack. Instead of showing the entire cover, the interface displays the colorful book spines arranged side by side.
Embed in Your Website
- Go to Admin Panel
- Click the **Share/Embed** button
- Copy the embed code
(where xyz – your project folder name)
Basic Embed
<iframe
src=”http://xyz/flipbook/embed/1″
width=”100%”
height=”100%”
frameborder=”0″
allowfullscreen
style=”border: none; min-height: 100vh;”>
</iframe>
Using PHP Helper
helper(‘flipbook’);
echo flipbook_embed($flipbook[‘id’], [
‘width’ => ‘100%’,
‘height’ => ‘100%’,
‘allow’ => ‘fullscreen’
]);
Manage Flipbooks
- Edit a Flipbook
- Go to Admin Panel
- Click the **edit** icon on any flipbook
- Update title, settings, or upload a new source
- Click **Update Flipbook**
- Toggle Status
- Click the **toggle** button to switch between:
- **Published**: Visible to public
- **Draft**: Hidden from public
- Delete a Flipbook
- Click the **delete** icon
- Confirm deletion
- All files and data are permanently removed
Let's do great work together.
Request A Free Quotation!